Did you know a fresh coat of paint can change your living space’s feel? It’s a simple way to make a room or your whole home look new. Painting your home’s interior is more than looks. It makes your home welcoming and comfy for you and your family.
Every homeowner thinks about changing their living space at some point. You might want to update one room or your whole house. Painting is a great first step. In this guide, we’ll show you how to get professional-looking results.
Key Takeaways
- Understand the importance of preparing your walls before painting.
- Learn how to choose the right paint for your home’s interior.
- Discover the essential tools and materials needed for a successful painting project.
- Get tips on how to achieve a smooth, even finish.
- Find out how to add the finishing touches to your newly painted space.
Understanding the Importance of Interior Painting
A fresh coat of interior house paint can make our homes feel new and welcoming. It’s key to know the many benefits of interior painting.
Painting our interiors does more than change wall colors. It improves our living space, home maintenance, looks, and even our mood.
Why We Should Paint Our Interiors
Painting our interiors is a simple way to refresh our homes. It fixes wall damage, hides stains, and updates our home’s look. Plus, it protects our walls, saving us money on repairs later.
Benefits of Fresh Paint for Your Home
Fresh paint offers many advantages. It boosts our home’s beauty and:
- Increases our home’s value, making it more appealing to buyers if we sell.
- Gives us a fresh, renewed feeling, improving our home satisfaction.
- Let’s us express our style and personality through color choices.
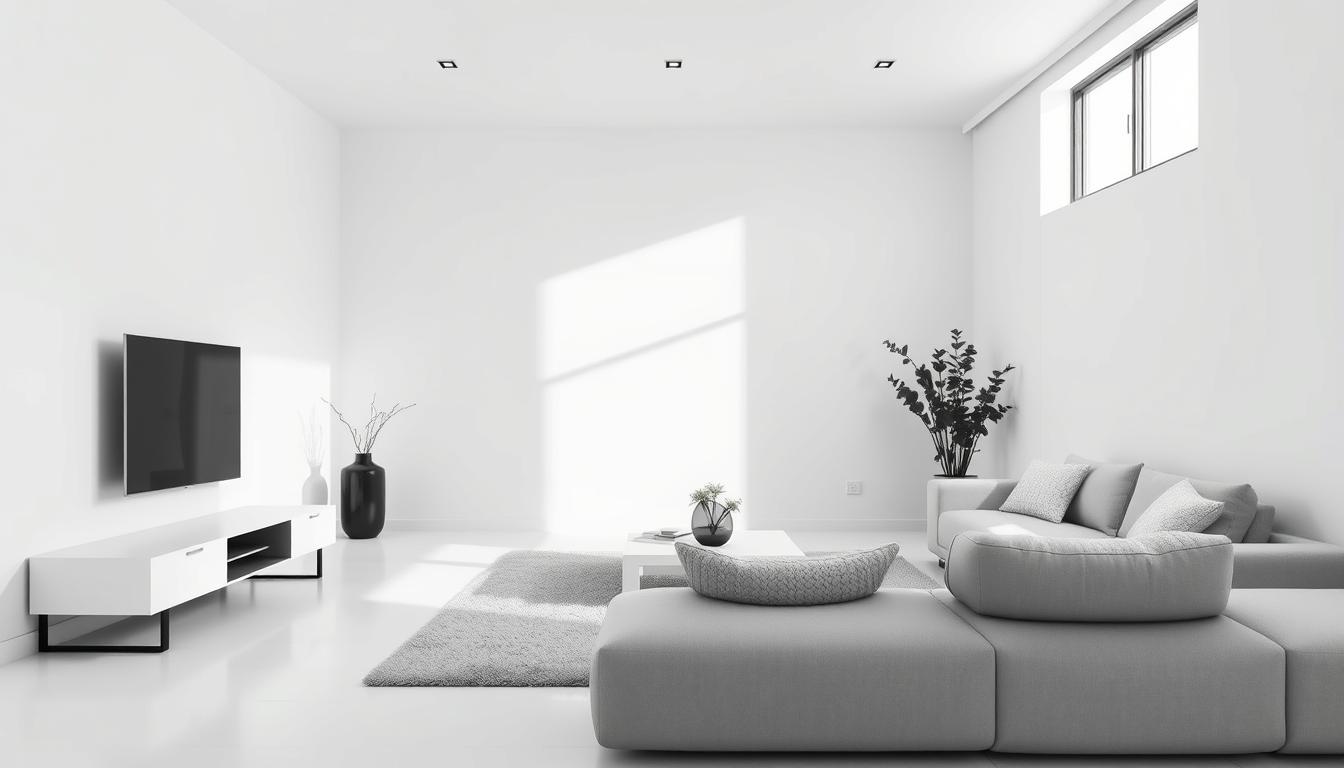
Psychological Effects of Color Choices
The colors we pick for our homes affect our mood and energy. Light colors make rooms feel bigger and airier. Dark colors create a cozy feel. Knowing this helps us choose the right colors for our homes.
By picking colors wisely, we can make our homes not just look good but also support our well-being. The right colors can help us relax, energize, or focus.
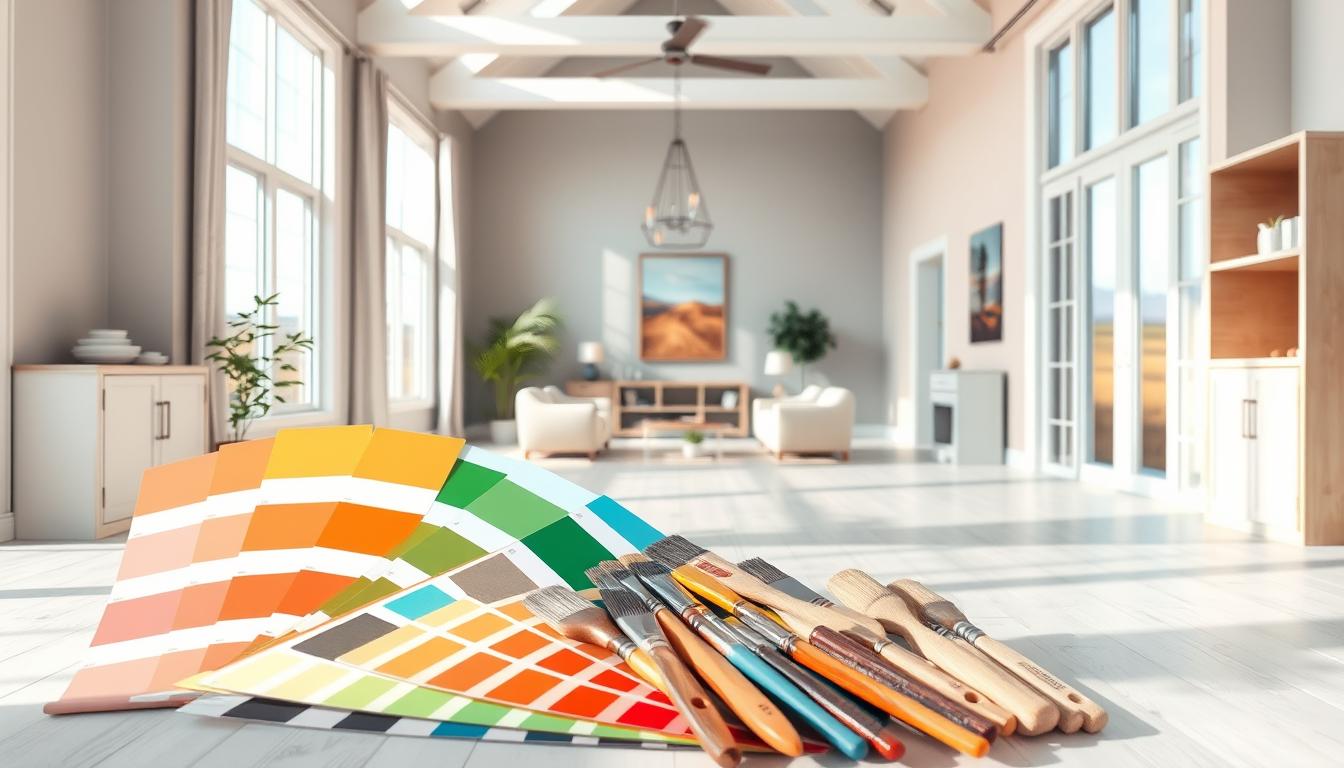
Choosing the Right Color Palette
The right color palette can make your home feel more welcoming and cozy. With so many options, picking the perfect colors can be tough.
Analyzing Color Trends and Their Impacts
Color trends shape our interior painting choices. Soft neutrals and bold accents are in style, creating a lively atmosphere. We can blend these trends by using neutral colors as a base and adding vibrant touches through furniture and decor.
Testing Colors with Samples
Testing colors with samples is crucial before making a final choice. This helps us see how the color looks at different times and under different lights. Painting small wall sections with sample colors gives us a clear idea of the full wall’s appearance.
| Color | Sample Size | Observation |
|---|---|---|
| Soft Gray | 1 sq. ft. | Looks calming, works well with natural light. |
| Warm Beige | 1 sq. ft. | Complements wooden furniture, cozy atmosphere. |
How Lighting Influences Color Perception
Lighting greatly affects how we see colors. Natural light, artificial light, and light direction all change color appearance. When picking a color palette, think about your room’s lighting to ensure colors look great in all conditions.
Tips for Considering Lighting:
- Observe the color at different times of day.
- Test the color under various light sources.
- Consider using light bulbs with a high CRI (Color Rendering Index) for more accurate color representation.
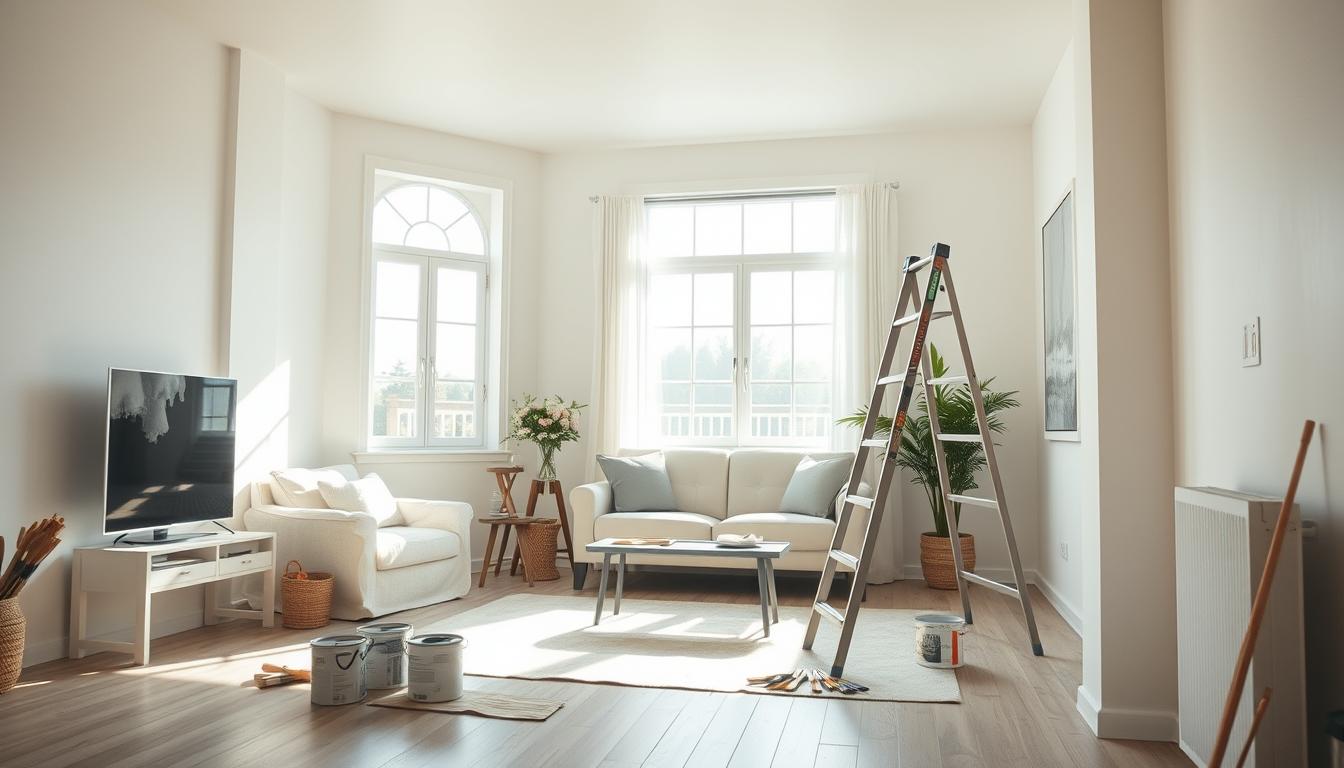
Preparing for Your Painting Project
To get a professional look, we must prepare our home for painting. Good preparation is essential for a smooth painting process.
Gathering Essential Tools and Supplies
We need to collect all the tools and supplies before starting. This includes paintbrushes, rollers, paint trays, drop cloths, and sandpaper. Using the right DIY interior painting techniques means having the right tools. For example, a high-quality roller can make our walls look better.
It’s important to think about the interior painting cost of these supplies. While cheaper tools might seem appealing, investing in quality can save money. It can prevent the need for extra coats or repairs.
Properly Preparing Your Walls
Preparing our walls is a key step for a great finish. We start by cleaning the walls to remove dirt and grease. Then, we fix holes or cracks with spackling compound and sand them smooth.
After that, we sand the whole surface to help the paint stick better. This step is vital for a uniform look. Lastly, we wipe the walls with a damp cloth to remove dust from sanding.
Safety Precautions to Consider
Safety is always first when painting. We need to make sure there’s good air flow by opening windows or using fans. It’s also important to wear protective gear like gloves, goggles, and a mask to avoid paint fumes and splatters.
We should also cover our floors and furniture with drop cloths to protect them from paint spills. By following these safety precautions, we can have a safe painting experience.
Selecting the Right Paint Type
Choosing the right paint is key in any painting job. It affects how long the paint lasts and how it looks. There are many paints out there, so knowing their differences is important.
Comparing Acrylic and Oil-Based Paints
When picking paint, you have to decide between acrylic (water-based) or oil-based. Acrylic paints dry fast and are easy to clean with soap and water. They work well for most inside painting jobs. Oil-based paints, on the other hand, give a tough finish but dry slower and need solvents to clean.
“Acrylic latex paint is a favorite because it dries quickly and has little smell,” says a pro from Satori Loka. They highlight acrylic’s convenience.
Understanding Finish Types: Matte, Satin, and Gloss
The paint’s finish is also very important. Paints have different sheens like matte, satin, and gloss. Matte finishes are flat and hide imperfections well. Satin finishes have a slight shine and are durable and pretty. Gloss finishes are shiny and strong, great for trim and doors.
- Matte: Good for places with little foot traffic and ceilings.
- Satin: Perfect for most rooms, mixing durability with looks.
- Gloss: Ideal for trim, doors, and busy areas.
Eco-Friendly Paint Options We Can Consider
If you care about the planet, there are eco-friendly paints. These paints use natural stuff, have low VOCs, and break down easily. Going for eco-friendly paints helps the planet and makes indoor air cleaner.
“The move to eco-friendly paints is more than a trend; it’s essential for a green future,” say green experts.
By thinking about these points and choices, we can pick the best paint for our project. This ensures a beautiful and lasting finish.
Techniques for a Flawless Application
The secret to a long-lasting and visually appealing paint job is in the technique, not just the paint quality. When we apply paint correctly, we not only achieve a professional-looking finish but also ensure that the paint lasts longer and looks better over time.
Essential Painting Techniques for Beginners
For those new to painting, understanding the basics is crucial. Start with a clean and prepared surface; this cannot be overstated. Any dirt, grime, or old paint flakes can interfere with the new paint’s adhesion and finish. We also recommend using high-quality brushes and rollers that are suited to your specific paint type.
One of the most critical techniques for beginners is to work in sections. Divide your wall into manageable areas and complete each one at a time. This helps in maintaining even coverage and prevents the paint from drying out before you can blend the edges.
Tips for Cutting In and Edging
Cutting in and edging are where most beginners struggle. The key is to be steady and patient. Use a high-quality angled brush to paint the edges, corners, and any areas around trim where a roller can’t reach. To achieve a sharp, clean line, use painter’s tape to mask off the areas you don’t want to paint. But, be sure to remove the tape before the paint dries to prevent peeling.
- Load your brush with the right amount of paint – not too much, not too little.
- Paint in smooth, steady strokes, working from top to bottom.
- Use a ‘W’ or ‘M’ pattern with your brush to ensure even coverage when cutting in.
Roller Techniques for Even Coverage
When it comes to covering large areas, rollers are your best friend. Choose the right nap length for your roller; a longer nap is better for textured surfaces, while a shorter nap is ideal for smooth surfaces. To avoid lap marks, work in sections and maintain a wet edge by applying paint in a continuous motion, slightly overlapping your previous stroke.
| Surface Type | Nap Length | Recommended Use |
|---|---|---|
| Smooth | 1/4 inch or less | Ideal for most interior walls and ceilings. |
| Textured | 1/2 inch or more | Best for popcorn ceilings or heavily textured walls. |
By mastering these techniques, you’ll be well on your way to achieving a flawless and professional-looking paint job. Whether you’re a seasoned DIY enthusiast or a beginner, the right techniques can make all the difference in the outcome of your interior painting services project.
How to Paint Different Rooms
Every room in your home has its own special character. Painting each room is more than just a fresh coat. It’s about making each space better for its own needs.
Living Room Painting Tips
The living room is where family and friends come together. Pick a color that goes well with your furniture and decor. Choose a paint that’s durable and easy to clean because living rooms get a lot of use.
To get a professional look, start by getting your walls ready. Clean them, fix any holes or cracks, and tape off the trim. Use a roller for big areas and a brush for edges and corners.
“The right color can transform a room, making it feel more spacious, cozy, or vibrant.” – Interior Design Expert
Special Considerations for Bedrooms
Bedrooms are your own special place. The paint color can really affect how you feel and sleep. Choose calming colors like soft blues, pale greens, or neutral tones. Think about the natural light in the room too, as it changes how the paint looks.
For bedrooms, the finish matters too. A flat or matte finish hides wall imperfections, making your bedroom look smooth and calm.
Kitchen and Bathroom Painting Challenges
Kitchens and bathrooms are special because they face moisture, heat, and lots of use. Use a paint that’s moisture-resistant and easy to clean, like satin or semi-gloss. These areas need paint that looks good and lasts.
Before painting, make sure the surfaces are clean and dry. In kitchens and bathrooms, fix any mold or mildew first. Use a primer if needed to get a uniform base.
| Room Type | Recommended Paint Finish | Special Considerations |
|---|---|---|
| Living Room | Satin or Eggshell | Durability, ease of cleaning |
| Bedroom | Matte or Flat | Calming colors, hiding imperfections |
| Kitchen/Bathroom | Semi-gloss or Satin | Moisture resistance, ease of cleaning |

Knowing what each room needs helps you pick the right paint and techniques. Whether it’s a living room, bedroom, kitchen, or bathroom, success comes from preparation, the right materials, and paying attention to detail.
Managing Time and Workflow Efficiently
Painting your home’s interior well requires more than just picking colors. It’s also about staying organized and managing your time and workflow well. This can greatly impact the success of your painting project.
To begin, creating a painting schedule is key. It means setting realistic times for each part of your project, from getting ready to the final paint coat. This helps us avoid last-minute scrambles and keeps our project on track.
Creating a Painting Schedule
A good painting schedule should list specific dates and times for each task. First, we list all tasks, like preparing walls, taping off trim, and painting. Then, we assign time for each task, thinking about the area size and paint coats needed.
Breaking Down the Project into Stages
Dividing the painting project into smaller stages is essential for a smooth flow. We can split it into stages like preparation, priming (if needed), and painting. This way, we focus on one stage at a time, ensuring each step is done well before moving on.
Maintaining Momentum While Painting
Keeping up momentum is key to finishing the project quickly. We start from the top of the room and work down to avoid drips. Taking short breaks also helps prevent tiredness and keeps our work quality high.
By using these strategies, we can manage our time and workflow well. This ensures our DIY painting project is done on time and to a high standard.
The Importance of Cleanup After Painting
The final stage of our painting project is cleaning up and organizing. This step makes sure our interior looks great and is safe. It also removes any dangers from painting materials.

Best Practices for Cleaning Tools and Surfaces
Cleaning tools and surfaces after painting is key. It keeps them in good shape for future projects. For paintbrushes and rollers, use soap and warm water to remove dried paint. Cleaning paint trays and other gear helps prevent paint from drying on them.
For surfaces, clean up paint splatters or spills right away. A damp cloth works well for this. If the paint has dried, a gentle solvent might be needed, depending on the paint type.
Proper Disposal of Paint Leftovers
Disposing of leftover paint is good for the environment and the law. Check with your local waste agency for paint disposal rules. Some places have special days for hazardous waste, like leftover paint.
If you have a bit of leftover paint, consider donating it. Local charities or community groups might use it. Make sure paint cans are empty and dry before recycling them.
Safety Measures for Drying Paint
While paint dries, keep your home well-ventilated. This helps the paint dry faster and reduces fumes. Also, keep kids and pets away from fresh paint to avoid health risks.
For more on interior painting costs, including cleanup, visit our guide on how much it costs to paint your home’s interior.
Adding Finishing Touches
As we finish our interior painting project, it’s time to add the final touches. These touches make a house feel like home. They elevate the look and feel of our newly painted rooms, making them inviting and personal.
Choosing the Right Trim and Moldings
Choosing the right trim and moldings is key. They frame our walls and add character to the rooms. Trim and moldings come in various styles and materials, fitting our home’s style and taste.
When picking trim, think about color and finish. White trim is popular for its clean contrast. But, we can also match the trim to the walls for a subtle look.
| Trim Type | Description | Best Use |
|---|---|---|
| Simple Molding | A basic, unadorned molding that adds a clean finish. | Modern or minimalist interiors |
| Ornate Molding | Intricately designed molding that adds elegance. | Traditional or luxurious interiors |
Final Touch-Up Techniques
After painting, we might find minor imperfections. Using the best paint for interior walls, we can fix these easily. This ensures a flawless finish.
For small touch-ups, use a small brush for precise application. It’s wise to keep some paint for future touch-ups.
“The devil is in the details.” – This old adage is true in interior decorating. The finishing touches, though small, greatly impact our home’s appearance.
How to Hang Art and Decor After Painting
Hanging art and decor is the last step to make our space truly ours. We should think about the artwork’s scale and color palette. This ensures harmony with the wall and furniture.
- Use a level to ensure the artwork is straight.
- Consider the height at which to hang the artwork; generally, the center should be at eye level.
- Experiment with different arrangements before making any holes in the wall.
With these finishing touches, our home is now complete. It showcases our style and the beauty of the newly painted interior.
Conclusion: The Lasting Impact of a Fresh Interior
Painting your home’s interior is a big change. It makes your home look better, increases its value, and improves your life. By picking the right paint and colors, you can make a space that shows off your style.
Enhancing Your Home’s Beauty and Value
A new paint job can change how people see your home. It’s a chance to make your living areas feel more welcoming and up-to-date. With the right colors, you can make all your rooms look connected and stylish.
Enjoying Your Newly Painted Space
Once your painting is done, take time to enjoy it. Have friends and family over to see your new home. You’ll feel proud knowing you’ve made a beautiful and welcoming space for everyone.